
I really like this part, but it is at the same time really rather stressful. The end result can look beautiful if executed correctly, but mistakes are severely punished. Any flaws in the design are placed on display for all to see, likely rendering the part scrap or resulting in something that will not function as intended. For this reason I have been very thankful for the rather cheaper and quicker additive rather than detractive machining process of 3D printing.
Across the interior design, I currently have a number of machined pieces which comprise the switch plates to sit either side of the radio, and the instrument pod. I am considering some rather challenging air vents to add to these but for now I want to get the electric related parts completed so that I can continue with the car wiring harness. Deciding to start with the simpler and less expensive assembly first, I began by having all of the components printed in white PLA. The surface finish isn't brilliant, but with a little sand paper to relieve the mating surfaces, I was able to verify the design quite well. I even found a small error to validate the reason for starting with a plastic draft; I had made one of the LED rings the wrong diameter so it simply would not fit into the hole on the faceplate - a nice easy catch, quickly remedied.

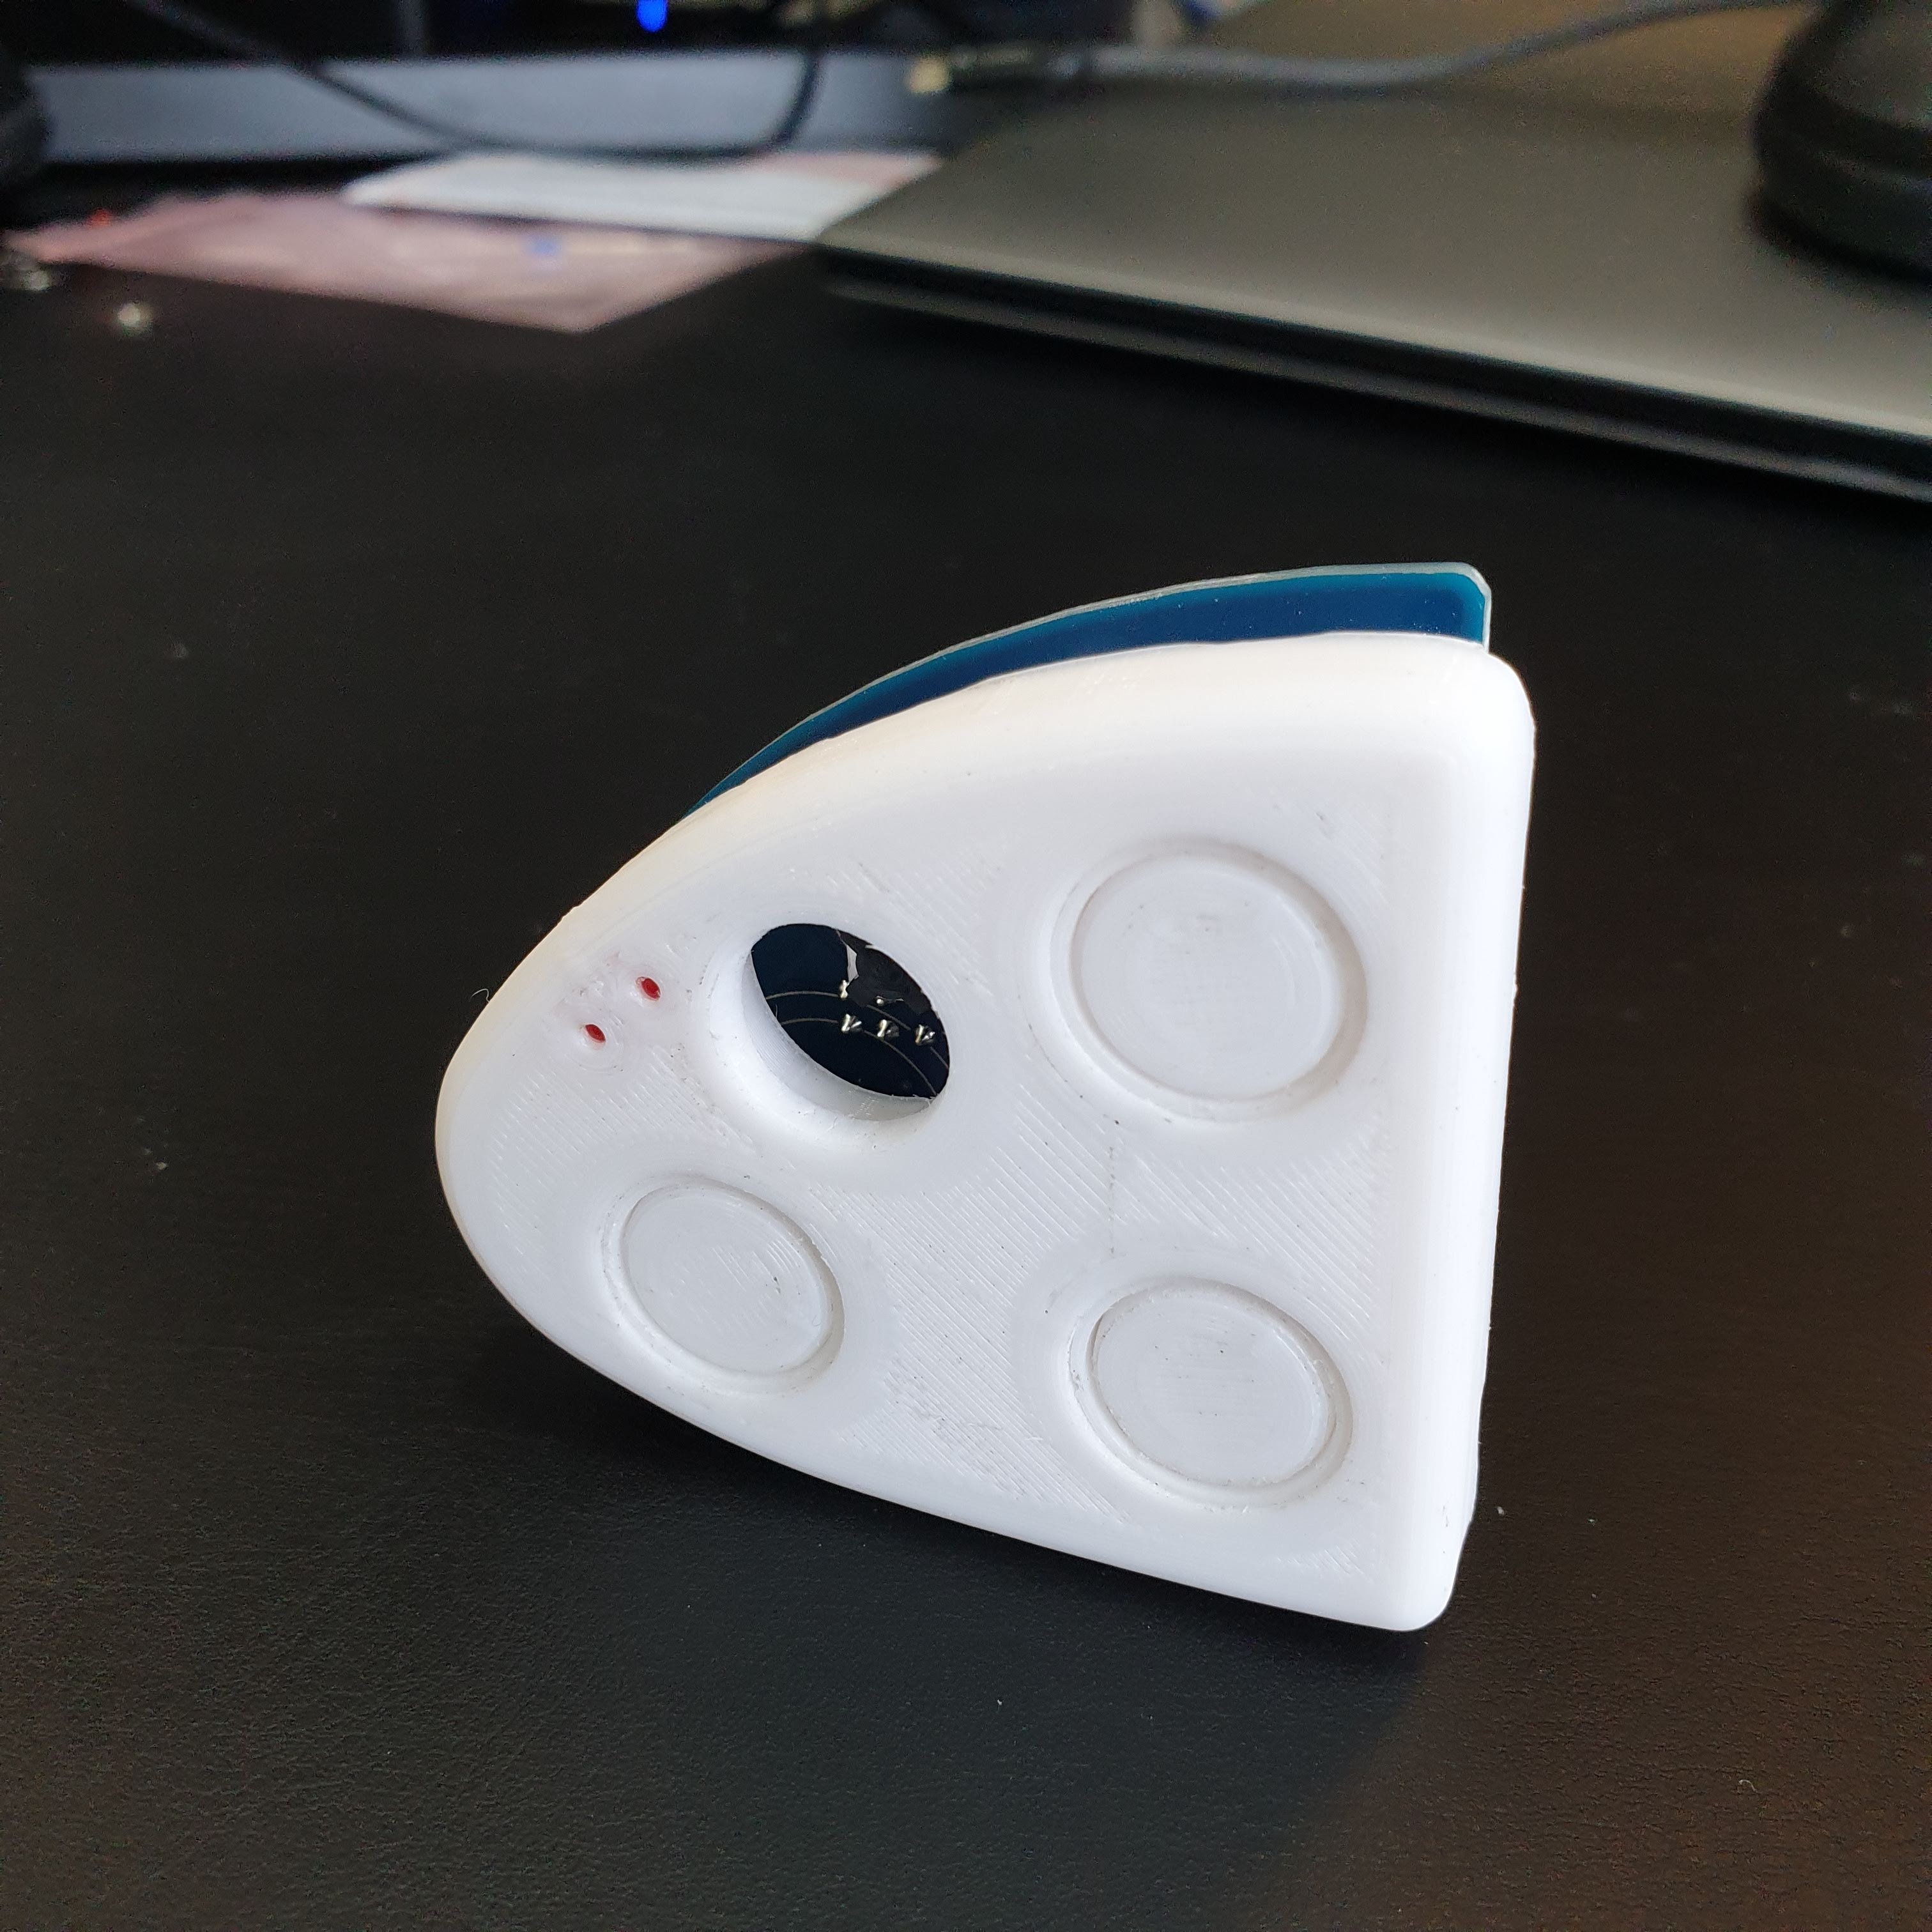

Adding the recently delivered PCBs and some stainless studs and it was amazing to see a collection of pieces suddenly become something tangible with purpose. The buttons worked, everything lined up as intended; such a pleasing result!
Happy with the design, I shared the 3d models with Sunyong, my local CNC company in Kuala Lumpur and we set about discussing how to make them. They were hugely helpful and were pleased to see someone actually consider the machining phase throughout the design - this was a hangover from my university CNC design course as part of my mechanical engineering degree kicking in I'm sure. I had tried to imagine how the various cutting tools would access each hole and contour in all of my designs which seems to have paid off at this stage with little or no changes needed to all of the parts.
The machined parts took very little time to produce, after which I paid Sunyong a visit to try out the real parts for tolerancing and general first impressions; they came out great!


After Sunyong experimenting with a couple of anodising processes, turning the material first yellow and then too shiny, it was decided to scrap and remake the plates, to then polish out any hairline scratches first before treating to a different satin anodising chemical process. I'm now waiting on the results but I'm hopeful that this time we'll have it cracked!
The instrument pod was not quite so simple. Aside from aligning the PCBs with some quite tight toleranced spacing in three dimensions, the housing has to slide together, to allow light to pass uninterrupted from the various LED locations to the decal light up targets at the front, to house several sub assemblies and of course to look nice!
Overall, I have now 3d printed 4 complete housings with various small edits. The first a rough cut draft to check general size and feel. The second to firm up the mounting locations and PCB tolerancing. The third to try a new loft blending technique to try to soften the front bezel from the eyes of the viewer, and finally the 4th to finalise the bezel design with some nice smooth lofts, mounting points on the rear and some usb panel mount holes to allow re-programming of the 3 microcontrollers without requiring disassembly - I can't wait to have this feature - why didn't I think of it earlier?!
 |
| Mk3 Pod Design |
 |
| Mk4 in Machining |
My solution has been to design some aluminium caps to bond to some heavily cut down pointers that I managed to source in China. I really hope they look good! We shall see very soon...


Comments
Post a Comment